
Turned out that there are existing rather inexpensive light fixtures that one can buy for around $30 that uses the circular florescent bulbs. The one I chose to use is the 14" Low Profile Round overhead fixture made by Lithonia Lighting.


The bulb holder is not open in the middle. As a matter of fact, the power supply is attached to the middle of the buld holder plate (see below left). So, the first thing is to remove the power supply and get the plate marked and ready to have the center removed (see below right). The idea is to remove enough of the plate so that the camera can peek through the center but leave enough material to leave the holder clips for the 12" bulb intact.


I used a pair of sheet metal shear to remove the center of the bulb holder. It took a little effort but can be easily done if you take your time and remove small pieces of the sheet metal at a time. Below is the result of the cut. For convenience, I removed the clips before the cutting.

After preparing bulb holder plate, I drilled some extra holes to mount the power supply to the one side of the holder and to secure the wiring.

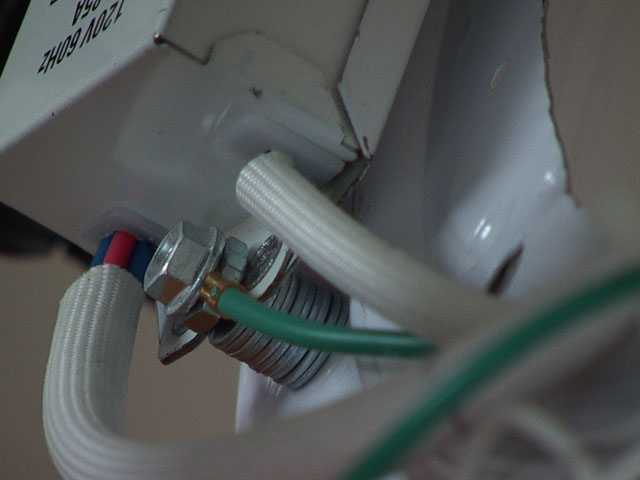
I used an L-bracket to attach to the holder to provide a means of attaching the ring light assembly to a tripod. To provide a stable way to attach the L-bracket and the power supply, a stack of washers were used as spacers to provide seperation between the different assemblies.


Below is a view of the finished ring from the rear and a picture of the finished ring light from the front. More work can be done to secure the wires and to provide a more finished look. I will get to that later.


She is a talented make up and design artist. You might learn something from the artistic side of things after looking at all these techy stuff. Enjoy!
No comments:
Post a Comment